Creating a New Request
-
Inside an Engagement, select the + Create button in the left-hand sidebar.
-
Add the Details:
-
Title (Required): Write a clear, concise name for the request.
-
Description: Provide specific instructions. Use bullet points or checklists to define exactly what files or data ranges are needed.
-
Priority & Status: Set the urgency (Low to Urgent) and the starting workflow stage (default is "To Do").
-
Due Date: Set a deadline to help the client prioritize their uploads.
-
Client Assignment: Assign a specific client contact. They will receive a notification and can track their own "To Do" list.
-
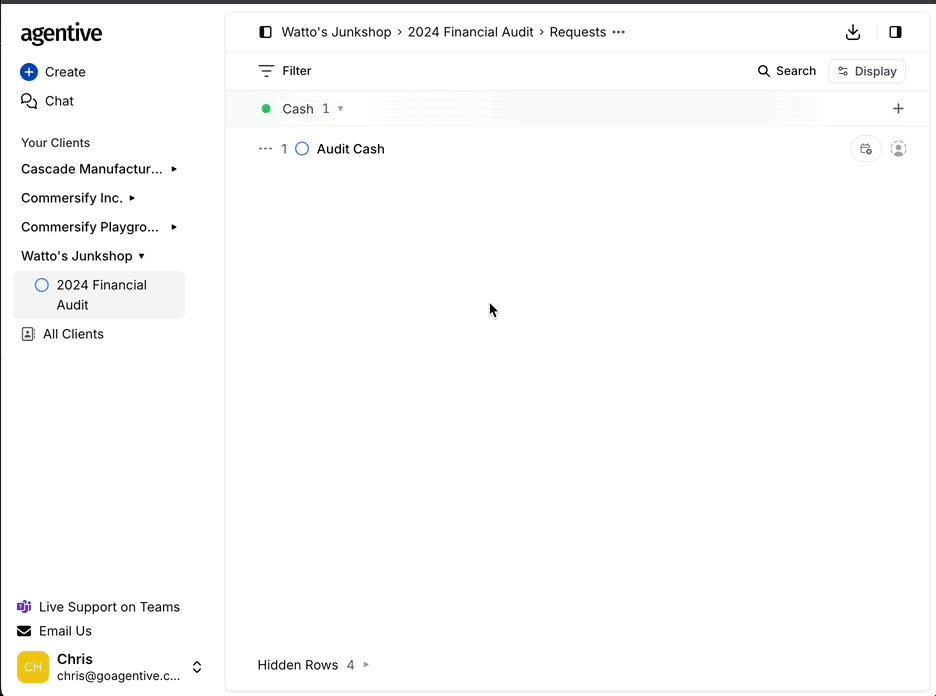
Category: Organize the request by audit area (e.g., Cash, Revenue, Payroll) to make filtering easier.
Pro Tip: If you have a long list of items to request, toggle "Create another" at the bottom. This keeps the composer open so you can rapidly save one request and start the next.
Managing Supporting Context
Once a request is live, it serves as the workspace for that specific audit item.
Reference Files & Document Groups
You can provide clients with templates or examples to guide their submissions.
-
Upload Reference Materials: Select the Paper Clip below the Status Button to add reference files for your client to download.
-
Add Document Groups: In the Workflow Tab located in the upper right of the screen you can Add Table for an itemized request or No Table for single document requests. Add all of the Document Groups needed for this request.
The Activity Feed
The activity feed creates a permanent audit trail of every action taken on a request.
-
Track Conversations: All comments from auditors and clients are captured here.
-
@ Mentions: Tag teammates to notify them of specific questions or updates.
-
File History: See exactly when files were uploaded and by whom.
-
Visibility Note: Clients will see all of the activity in the comments thread.